10:00 AM

By
Unknown
 AEM
AEM,
AirBagIt,
American Force Wheels,
Automatic Cargo Light,
BedSlide,
Bushwacker,
HornBlasters,
MSA,
msauthority,
Nitto,
PowerBass,
Ram Mount,
Rigid Industries,
Roadwire,
SEMA,
SEMA 2013

It's not every year that snow comes down in Arkansas. So we definitely wanted to take advantage of the opportunity. Here are the shots we got. Feel free to use as a wallpaper. In fact, we'd be honored.

Read more
5:22 PM
By
Unknown
AEM,
AirBagIt,
American Force Wheels,
Automatic Cargo Light,
BedSlide,
Bushwacker,
HornBlasters,
MSA,
msauthority,
Nitto,
PowerBass,
Ram Mount,
Rigid Industries,
Roadwire,
SEMA,
SEMA 2013,
SEMA show
 T'was the last day of the build before departure. Late nights assembling last minute parts, the front end, the BedRug, BedSlide, Retrax Bed Cover, Automatic Cargo Lights, and the interior. After it was all assembled, we took it for a test run. It was a rocky drive and was deemed undriveable for the 22 hours drive it was to make in a few short hours. We then scrambled to located a truck and a trailer with the capacities to pull Black Rhino. The problem was, we would find a 5th wheel trailer and no truck with a hook up. Or vice versa. After a few hours, we finally located a bumper pull that would haul the load.
Or so we thought... After finally getting on the freeway, the trailer began to sway some. Due to the weight, the drive was no more than 60-65mph down the freeway. Long nights and a 2 man crew taking shifts, the trailer blew a tire approximately 2 hours from Las Vegas. Stressed and exhausted, they changed the tire on the trailer and continued. 30 minutes later, a second trailer tire blew. Already late to the destination, the Black Rhino was pulled off the trailer and drove the rest of the way.
 Black Rhino finally made it to the SEMA show approximately 5pm, Monday before the show. By then, our booth spot was locked up and there were no entries into the location. So we were then set aside in a new lot where many of the other "late" trucks were parked. Seems like we weren't the only to have issues. There was another vehicle that was to be in the same booth that had suspension problems. Broke down on the side of the road, they rented a local shop's bay for $2,000 that night!
The rush to SEMA and fulfilling sponsorship obligations is normally a stressful time for shops. Unless you're just bolting on parts, you're looking at newly developed parts that are being tested. You're looking at shops balancing clients and their SEMA build. So many factors play into building a vehicle. The final results are always incredible though, and it is always a memorable experience. Thanks to everyone that's been following the Black Rhino Project. Look for it's feature in Street Trucks magazine and Diesel Army Magazine.
Read more
5:08 PM
By
Unknown
AEM,
AirBagIt,
American Force Wheels,
Automatic Cargo Light,
BedSlide,
Bushwacker,
HornBlasters,
MSA,
Nitto,
PowerBass,
Ram Mount,
Rigid Industries,
Roadwire,
SEMA,
SEMA 2013,
SEMA show

As with most everything, this wasn't an easy task to accomplish. Most headlamps these days are situated in such a way that disassembling them makes it difficult. There are several ways to go about separating the headlamp lenses, every single one of them softens the glue. One way is the oven. This is risky because the lenses are plastic and can melt under the heat. Second is using a heat gun. The challenge here is the black housing itself can melt under the heat gun should you keep it in one spot too long. The last way I've been told is putting the headlamp in some very very hot water.
My option was the heat gun. I didn't have a stove here at the shop to boil hot water and using our micro microwave wasn't an option. The oven was too small. In order to do this, I had to cut the outer lip of the black housing to access the glue to soften it. Imagine the headlamp housing (black part) in the shape of a U. Put your adhesive in the valley, then place the lens in it. It's the most effective way of making sure you have a proper seal. However, separating this is not an easy task. Until I learn a better technique, I've had to cut the "U" into an "L", exposing the glue, then softening it from there. I then use plastic pry tools and as the glue softens, work myself into separating the lenses. (I'm sorry I didn't take better pictures of this process.)
 Once the lens was separated, the inside housing was removed for trimming. Per the instructions from the retrofit source, the housing is cut and JB Welded into place. Due to time constraints, this is what I did. However, it was my first option to create 4-way adjustments.
Another trick we did on this setup was, we relocated the hi/low beam to the top section and the turn signals to the bottom. It was a subtle hint that most may not have caught. I dremeled the lower housing to allow the turn signal to fit in there as if it were factory.
The reflector was separated and paint matched as well, leaving a small strip for DOT legal purposes. The law states that the front must have an orange reflector. The retrofit source's xB light strip in amber replaced our existing 194 bulb for a brighter light and a cooler effect.
This was my first retro fit installation, so of course, there were some hiccups. The instructions require the truck to be at level height to do the installation. Unfortunately, I didn't have that due to the suspension being modified. All in all, it was a good learning experience for me. I'd say I would definitely continue to do this type of work just to gain the experience.
Again, I apologize for the lack of images. As the deadline grew closer, the focus was on getting the truck done. In addition, the reflections in the images, made it difficult to capture the true look of the headlamps.
Read more
4:31 PM
By
Unknown
AEM,
AirBagIt,
American Force Wheels,
Automatic Cargo Light,
BedSlide,
Bushwacker,
HornBlasters,
MSA,
Nitto,
PowerBass,
Ram Mount,
Rigid Industries,
SEMA,
SEMA 2013,
SEMA show
There are a few subtle changes on this vehicle that people don't notice. I thought they deserved some pointing out.
FRONT BUMPER
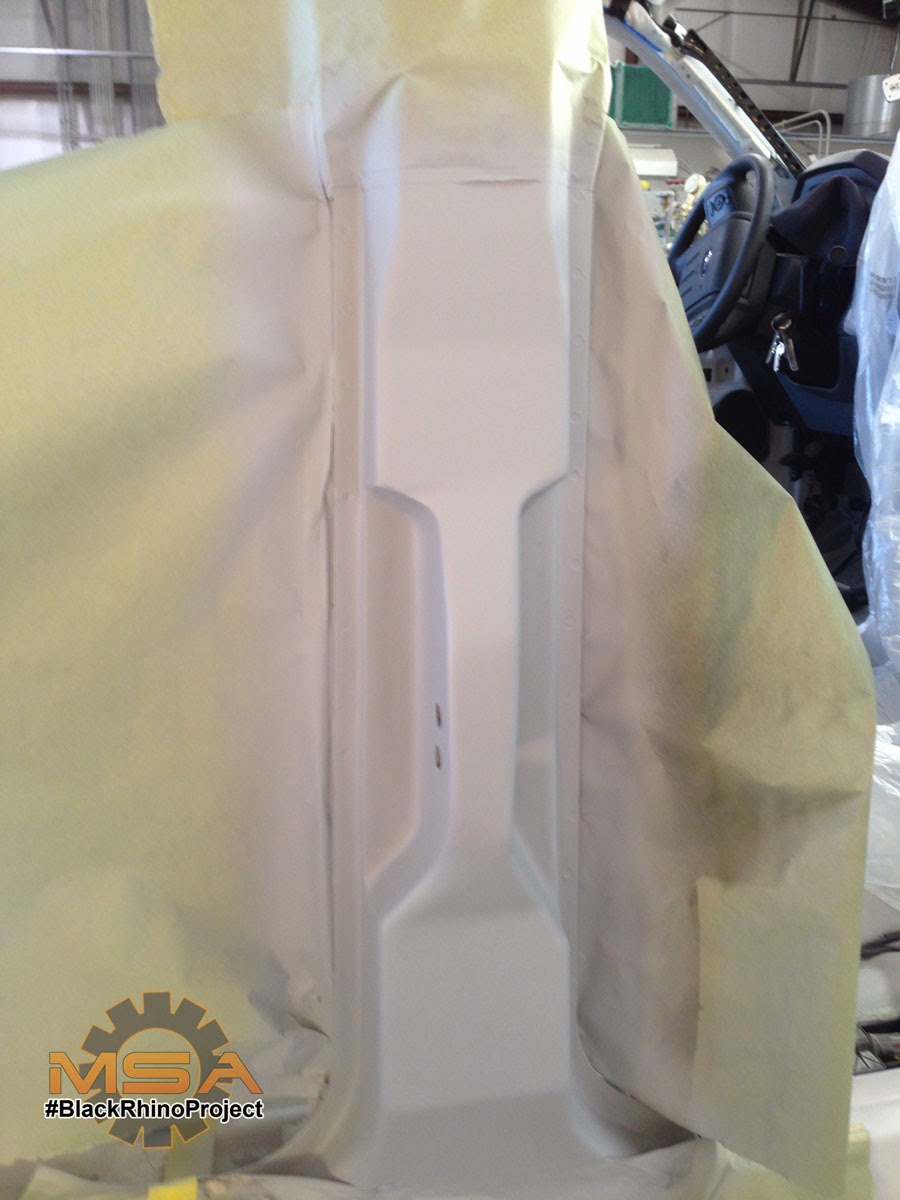
If you notice the original rendering, the front bumper is WAY lower than OE. It was designed that way. The theme of the truck is a mini-semi truck. In order to do so, we had to have a larger front bumper/air dam. To do this we had to succeed in doing 2 things - keeping the factory lines and lowering it approximately 4 inches. With our time constraints, our best option was to purchase another front bumper, weld, and mold it in. When completely deflated, the front bumper with air dam sits about an inch off the ground. Perfection.
 REAR DUALLY FENDERS
As described in a previous blog, the rear fenders were rendered to be flush with the wheels. But this was also our tow vehicle that would haul a 24' enclosed trailer with a drift car and tools. So, we wanted 10ply tires to ensure the truck could handle the load. Nitto, our sponsor, had 1 tire that would fit the bill - The Terra Grappler at LT315/50R24, which equates to a 36.54" total diameter and approximately 12.5" in width. Most people walked by not realizing the massive width of the fender, but it came out to be about a 4 day job to make sure both sides not only matched, but the lines were right.
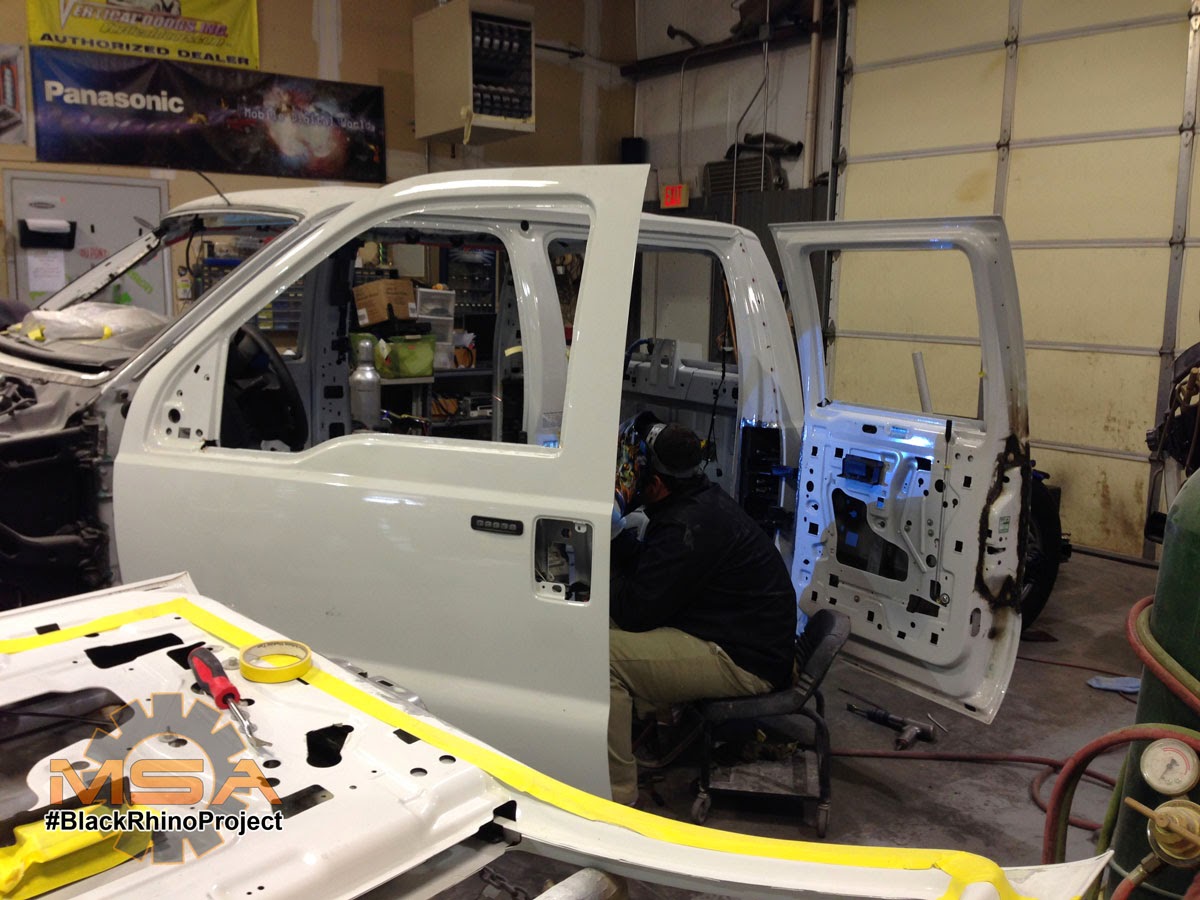
SUICIDE DOORS
Most people didn't play with these, and of course, we aren't complaining. At shows, vehicles really aren't meant for the general public to just play and handle as they wish. But, when one of us were present, we definitely want to show the 3 weeks of love put into this. The doors open and close just like factory from the inside or the outside. The gaps between the doors and the body are right. The added metal reinforcement prevents them from sagging.
 BAG SETUP
The rear setup is heavily reinforced. We used 1/4" and 1/2" steel because we knew that there was a possibility of a gooseneck setup in the future. So we set it up that way, and with our 3800lb bags, we should be able to haul just about anything. The parallel bars and other items on the truck assists in that setup, keeping the rear more rigid than it was from the factory.
SWITCHES and RUNNING BOARDS
The switches and the running boards weren't offered for my truck's specific model. They could have been upgraded, but weren't purchased that way. The running boards are from a Lariat which were disassembled and painted. This truck is an XLT model. It also had the AUX OE Switch option that we purchased separately. These run the Grille lights, additional fog lamps, and the rear bumper lights.
FENDERS
 We actually molded the front fenders. We wanted a more smooth look, and the front fenders seem out of place with the line in it. Since we did that, we had to modify the Bushwacker Extend-A-Fenders up front to account for the body line elimination.
PAINT
 It was a common misconception that we wrapped the truck. There are several companies that had the brushed steel look in a wrap, so at a quick glance, a lot of people made that assumption. But no. We didn't want the truck to be merely wrapped. That showed no technical skill. We had to take it a step further and we actually "scratched" the truck to give it the brushed look. We accomplished this with 180 grit sandpaper, and red and gray scotchbrite pads. Total process took about 8 hours.
Read more
2:33 PM
By
Unknown
AEM,
AirBagIt,
American Force Wheels,
Automatic Cargo Light,
BedSlide,
Bushwacker,
HornBlasters,
MSA,
Nitto,
PowerBass,
Ram Mount,
Rigid Industries,
Roadwire,
SEMA,
SEMA 2013,
SEMA show
After some tracking, the wheels arrived at our door steps on October 21. Any person that does bag setups know that one of the crucial pieces of a bag setup is the wheels and tires. Location of the bags, parallel bars, and other bag components depend on it. BUT with some SEMA builds, you don't always have that luxury. So we guesstimated.
Well....we guesstimated ok. We weren't terribly far off, but it definitely created needed some reconfiguration.
 First, our bags were off. The bags have 10" of lift and the rear mounts were way lower than the front. The rears would have to air up 4" before it would equal where the fronts completely deflated. So we used the torch to completely cut out our current top bag mounts and made them lower. This allowed us to have equal height adjustments for both the front and the rear.
Second, we had started to fiberglass and do body work on the Bushwackers. Our original plan was to use the rear Extend-a-fenders made for the F250 and modify them for our Dually fenders. After mounting the wheels and tires, we would have been left with about 1" of tire that stuck out beyond the fenders. That was a no go. The design calls for the rear fenders to be completely flush. Well, we can bring the wheels in or we would have to cut the bed. That would then conflict with our BedRug sponsorship. So, the rear fenders...trashed.
We overnighted 2 rear dually fenders from Ford, then cut, trimmed, and molded into the existing ones. This allowed us to extended our fenders out to where we wanted it - flush with the wheels. Having only a few days left, this was definitely going to be a rush.
Lastly, our fittings leaked. Every single joint and fitting leaked. So we spent hours upon hours upon hours, looking and searching for the correct fittings to correct all the points in the system that was leaking. Sometimes a set back when it comes to airbags. But it was another challenge that was overcome.
Read more
11:50 AM
By
Unknown
AEM,
AirBagIt,
American Force Wheels,
Automatic Cargo Light,
BedSlide,
Bushwacker,
HornBlasters,
MSA,
Nitto,
PowerBass,
Ram Mount,
Rigid Industries,
Roadwire,
SEMA,
SEMA 2013,
SEMA show
This specific blog will be picture heavy. We photo documented most every step of the way, and I'm just going to throw it all together rather than you reading everything individually. The key steps we took here are:
1) We built and heavily reinforced the hinge mounting locations. Once of my irritations is seeing a suicide door sag. So the cab was reinforced and the door skins were heavily reinforced, thus allowing the hinges to take the weight of the door without any sagging.
2) Another key part of the build is the latch and hinge setup. The door handles and latches (door skin and all) were swapped. We cut out approximately 1" of door skin from around the door handle cavity and cut the majority of the latch so that we could swap sides and keep it's factory shape.
3) The locks are now closer to the latch. If you look, the door lock for the front doors are close to the latch. In other words, the latch and the door locks are both on the rear part of the front doors. On the factory rears, the door lock is closer to the front of the door and the latch is at the rear of the door. Having suicide doors, we moved the latch to the front of the door, so the rear doors now have the lock and the latch on the front part of the door. To make sure they still worked together, we purchased new front door locks and modified them to work. It may be hard to visualize, but I hope that makes some sense.
The suicide doors was about a 3 week process. There was a lot of time aligning parts - making sure the door gaps were correct, the hinges were perfectly aligned, etc... But, it was all well worth it. The only issue we have now is that the rear doors and front doors cannot open at the same time. There is a sweet spot at the start of the opening of the doors, where the top corners overlap each other.
Enjoy:
Read more