
MSA's 2013 SEMA Project: Black Rhino > Suicide Doors to completion
This specific blog will be picture heavy. We photo documented most every step of the way, and I'm just going to throw it all together rather than you reading everything individually. The key steps we took here are:
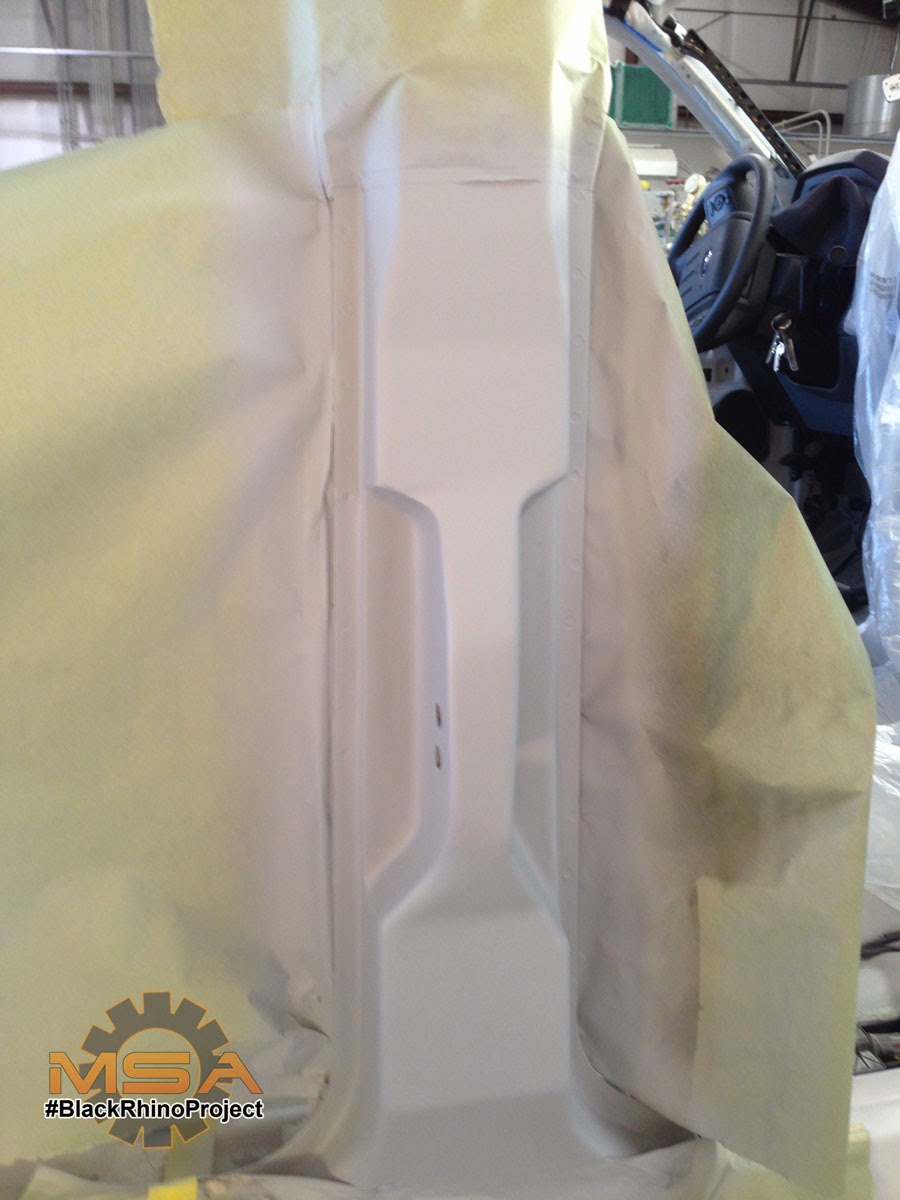
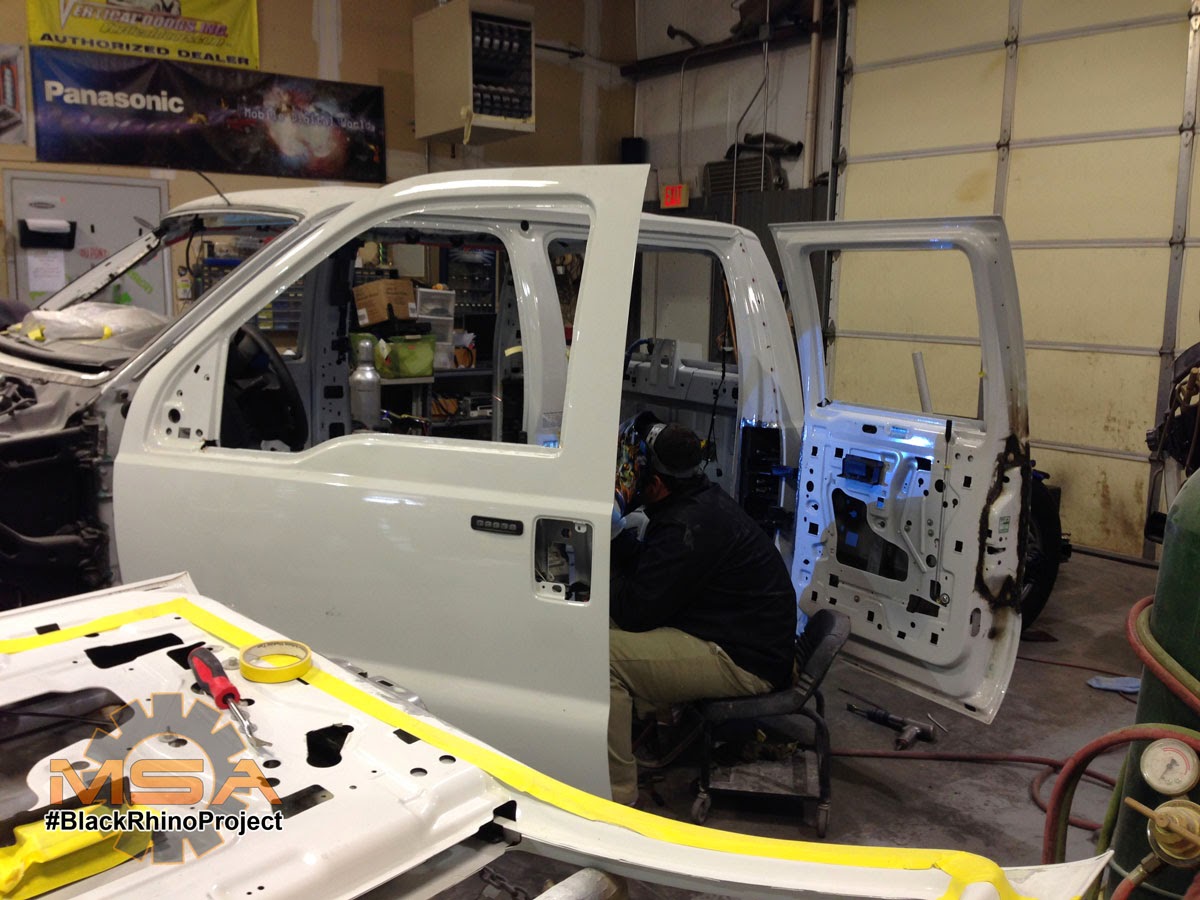
1) We built and heavily reinforced the hinge mounting locations. Once of my irritations is seeing a suicide door sag. So the cab was reinforced and the door skins were heavily reinforced, thus allowing the hinges to take the weight of the door without any sagging.
2) Another key part of the build is the latch and hinge setup. The door handles and latches (door skin and all) were swapped. We cut out approximately 1" of door skin from around the door handle cavity and cut the majority of the latch so that we could swap sides and keep it's factory shape.
3) The locks are now closer to the latch. If you look, the door lock for the front doors are close to the latch. In other words, the latch and the door locks are both on the rear part of the front doors. On the factory rears, the door lock is closer to the front of the door and the latch is at the rear of the door. Having suicide doors, we moved the latch to the front of the door, so the rear doors now have the lock and the latch on the front part of the door. To make sure they still worked together, we purchased new front door locks and modified them to work. It may be hard to visualize, but I hope that makes some sense.
The suicide doors was about a 3 week process. There was a lot of time aligning parts - making sure the door gaps were correct, the hinges were perfectly aligned, etc... But, it was all well worth it. The only issue we have now is that the rear doors and front doors cannot open at the same time. There is a sweet spot at the start of the opening of the doors, where the top corners overlap each other.
Enjoy:
 |
 |
 |
 |
 |
 |
 |
 |
 |
 |
 |
 |
 |
 |
 |  |
 |  |
 |
 |
Written by Bryan Lin
CEO The Motorsports Authority, Inc.
MAXIMIZE Your Ride! MSAStore.com | BCRacingDirect.com | ModdedTrucks.com
0 comments: