MSA's 2013 SEMA Project: Black Rhino > Speaker Pods - Building the Rear Speaker Pods Step by step
 |
 |
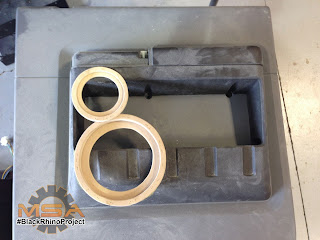
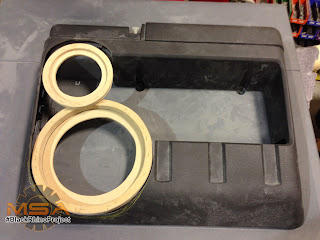
Step 1: Trimmed and created a wooden structure what would work within the door panels. We trimmed the door panels as well, where necessary.
Step 2: Created a base for the structure using wood this time rather than fiberglass. The reason for this is that it's quicker because the wood didn't have to dry like resin does. Also, it was a flat surface and had no contours.
 Step 3: W reassembled the door panel and taped it with aluminum tape. The floor, the sides, and everywhere we wanted to see the pod's form. We then placed the wooden frame in its location.
 Step 4: Here's what we tried....Great Stuff. We got a few cans of "Great Stuff" at Home Depot and spray it in the structure. We did this to make sure we had an exact replica of the interior of the pocket.
Step 5: Once dried, we trimmed and shaped the foam to how we wanted. This can be done with 36 grit sandpaper and a sharp knife.
 Step 6: Once shaped, we used 3M Super trim adhesive again. Instead of staples, we used the adhesive to keep the fleece in place. This allowed me to move the fleece where I wanted it and keep it in place, just as staples would. But it also kept the fleece to the foam, whereas, staples would have shot right though.
 Step 7: Resin and allow to cure. From here on out, it's just the same as the fronts. Trim off excess fleece and do body work.
Step 8: Prime and paint. Reassemble Doors.


Imron has undergone many changes over the years, from regular Imron to Imron 3.5 to Imron 2000 to Imron 5000 to Imron base clear 6000 to the new Imron Elite, Imron is used by most truck manufactuers today, there is 70% market share which shows it's bigger today then ever.
ReplyDeleteDetailing Services nyc